
Bathtub refinishing is a transformative process that can elevate the aesthetic of your bathroom without breaking the bank. It offers homeowners a practical and efficient solution to restore worn, outdated, or damaged bathtubs. Whether you’re looking to change the color, address chips and cracks, or simply rejuvenate a tired surface, this guide is your blueprint for success. The beauty of bathtub refinishing lies in its adaptability; it’s a project one can manage independently, with the right tools and knowledge, ultimately delivering results that match or even exceed professional standards. With just a bit of elbow grease, you can turn your bathroom into a spa-like retreat. Let’s dive into the necessary steps and tips for mastering this DIY project.
Understanding Bathtub Refinishing
Bathtub refinishing involves applying a new finish to the existing tub surface, effectively giving it a new lease on life. It’s not merely about aesthetics; refinishing offers significant benefits that appeal to many homeowners. For those grappling with budget constraints, refinishing saves the exorbitant costs associated with complete tub replacement. Moreover, the turnaround time for such projects is remarkably quick, often completed in under a day. This efficiency contrasts starkly with the lengthy and often messy process of removal and installation. Refinishing is also eco-friendly, minimizing waste by repurposing existing materials.
- Cost-effective compared to a full replacement
- Quick turnaround time, often completed within a day
- Variety of color options to match your decor
- Eco-friendly option, as it minimizes waste
Preparing for Your Refinishing Project

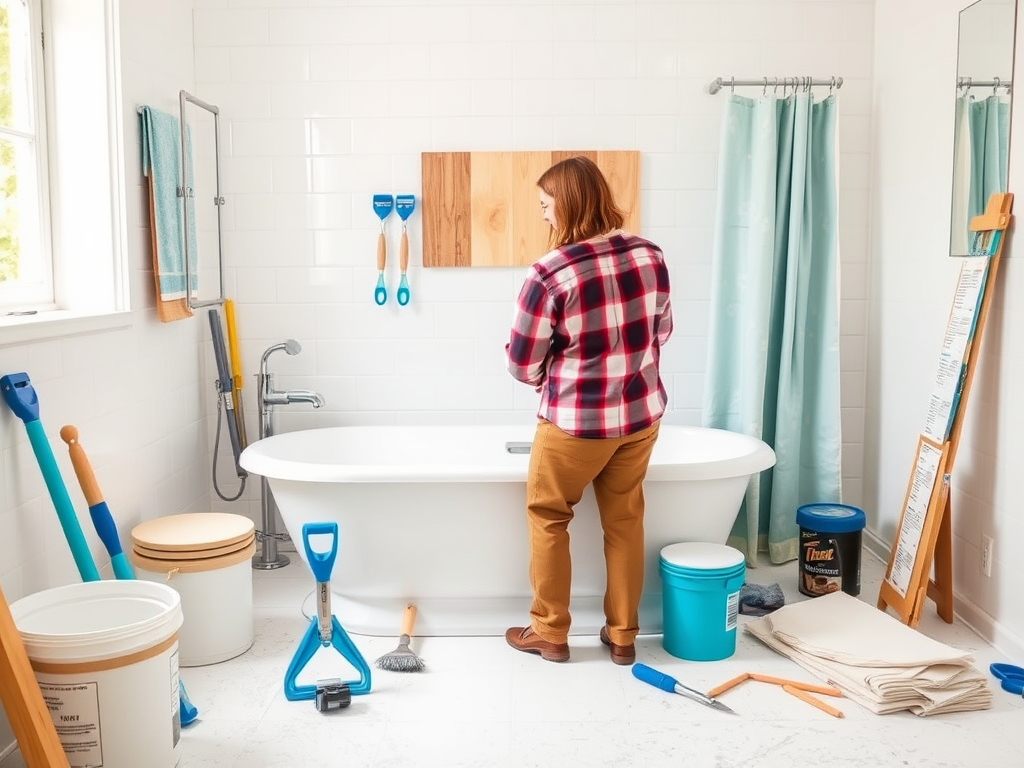
The success of your bathtub refinishing project largely hinges on the preparation phase. This section will arm you with the knowledge needed to prepare effectively and ensure your refinishing project runs as smoothly as possible. Proper preparation can mean the difference between a flawless finish and an uneven, unsightly surface. Before diving into the actual refinishing, familiarize yourself with the necessary tools and materials. Gather these items in advance to streamline the process. Lastly, do not overlook the crucial steps of preparing your tub, as a clean and well-maintained surface is vital for achieving long-lasting results.
Tools and Materials Needed
- Protective gear (gloves, mask, goggles)
- Cleaner and degreaser
- Sandpaper or sanding sponge
- Epoxy filler (for chips and cracks)
- Refinishing kit (spray or paint)
- Paintbrush or spray gun
Preparing Your Bathtub
- Remove all items from the tub and surrounding areas.
- Clean thoroughly to eliminate soap scum, oils, and grime.
- Repair any chips or cracks to ensure a smooth surface.
The Refinishing Process
The refinishing process is divided into distinct steps, which, if followed correctly, will yield amazing results. Understanding each step can equip you with the confidence and skills necessary to tackle this project. Ventilation is key, so ensure your bathroom is adequately aerated before starting. Safety is paramount, so don your protective gear before any cleaning or refinishing begins. Additionally, consider the surface preparation, as a rough texture allows for better adhesion of the refinishing materials. Next, we’ll look at a detailed step-by-step guide to lead you through the refinishing process.
| Step | Description |
|---|---|
| Ventilation and Safety Precautions | Ensure the space is well-ventilated and wear protective gear. |
| Sanding the Surface | Gently sand the tub’s surface to create a rough texture for better adhesion. |
| Cleaning Again | After sanding, clean the surface once more to remove any debris. |
| Applying the Refinishing Product | Follow the manufacturer’s instructions closely when applying the chosen refinishing product. |
| Allowing Proper Drying Time | Ensure adequate drying time as per the product instructions before reusing the tub. |
Finishing Touches and Maintenance Tips
Once the refinishing process is wrapped up, the next step revolves around maintaining your newly revamped bathtub. To keep it looking pristine for years to come, a guideline for care is essential. The longevity of your refinished tub hinges not only on the quality of work but also on how you treat it afterward. Refraining from using harsh cleaners and rough scrubbers can prevent damage to the new surface. It’s also beneficial to routinely check for any chips or cracks and to fix them right away to avoid more significant issues. Below are maintenance do’s and don’ts to help you keep your bathtub in top shape.
- Do use gentle cleaners to avoid damaging the finish.
- Don’t use abrasive scrubbers or harsh chemicals.
- Do regularly inspect for chips or cracks and address them immediately.
Conclusion
In conclusion, DIY bathtub refinishing can be a rewarding project that revitalizes your bathroom space. By investing time and effort into preparation, you can achieve remarkable results that enhance the look and feel of your home. The right tools, proper techniques, and an understanding of maintenance will ensure your refinished tub remains in excellent condition. Embrace the challenge, put in the work, and look forward to enjoying a beautiful, renewed bathtub that reflects your style and meets your functional needs.
Frequently Asked Questions
What is bathtub refinishing?Bathtub refinishing is the process of applying a new finish to the existing surface of a bathtub to restore its appearance and extend its lifespan.How long will the refinished tub last?With proper care and maintenance, a refinished bathtub can last anywhere from 5 to 10 years.Can I use my tub immediately after refinishing?No, it’s essential to allow adequate drying time as indicated by the refinishing product’s instructions, usually 24 to 48 hours before use.Is it possible to change the color of my tub?Yes, refinishing allows you to choose from various color options to match your bathroom decor.Can I refinish my tub on my own?Yes, with the right tools, preparation, and following the instructions carefully, you can successfully refinish your bathtub yourself.